Painting Course – Mixed Media Technique
This mixed media painting course is designed for artists who want to learn how to combine drawing, acrylics, oils, and glazing using professional criteria. Through a structured process of practical lessons, you will learn to control colour, build layers, consolidate technique, and develop a complete artwork step by step.
COURSE LESSONS
18 step-by-step lessons
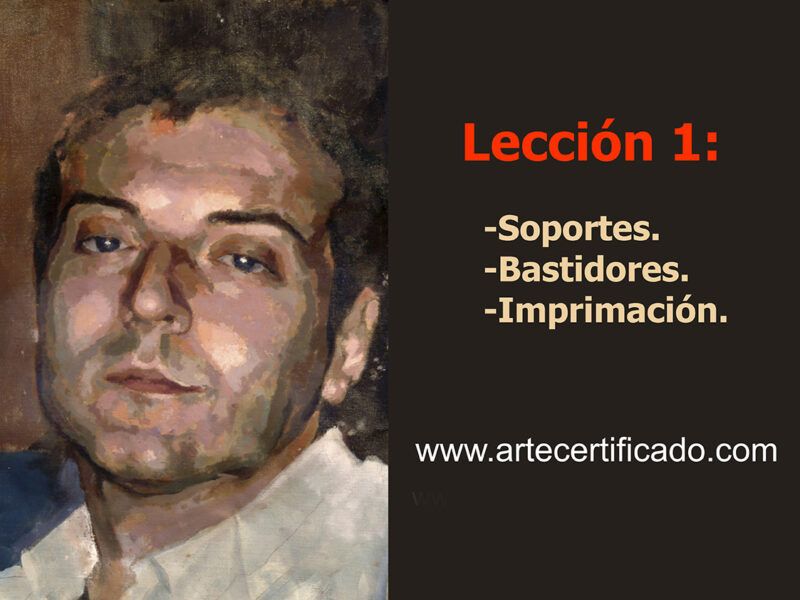
Lesson 1 — Supports, stretcher frames and priming
Supports, stretcher frames and priming: how to choose the right support and prepare the surface before painting.
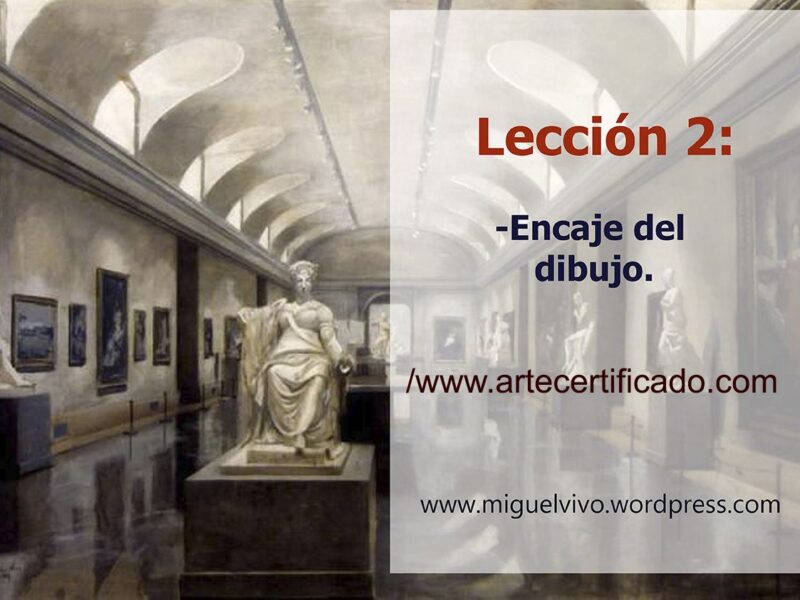
Lesson 2 — Drawing construction
Correct drawing construction: proportions, axes, and framing. You will learn how to place the main masses and adjust measurements before starting the water-based work and the subsequent layers.
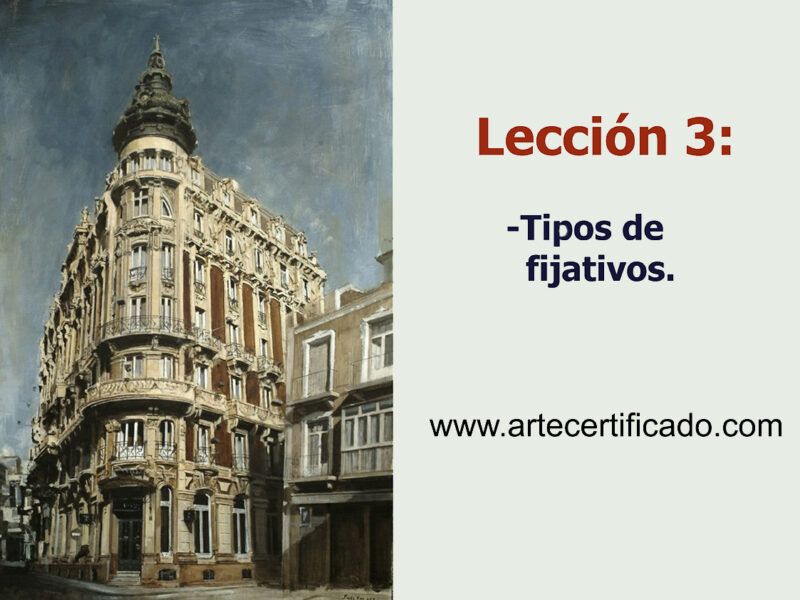
Lesson 3 — Types of fixatives
Learn how to fix the drawing construction on canvas or wood so it does not smudge or mix with the paint. We will cover the different types of fixatives, when to use each one, and common mistakes.
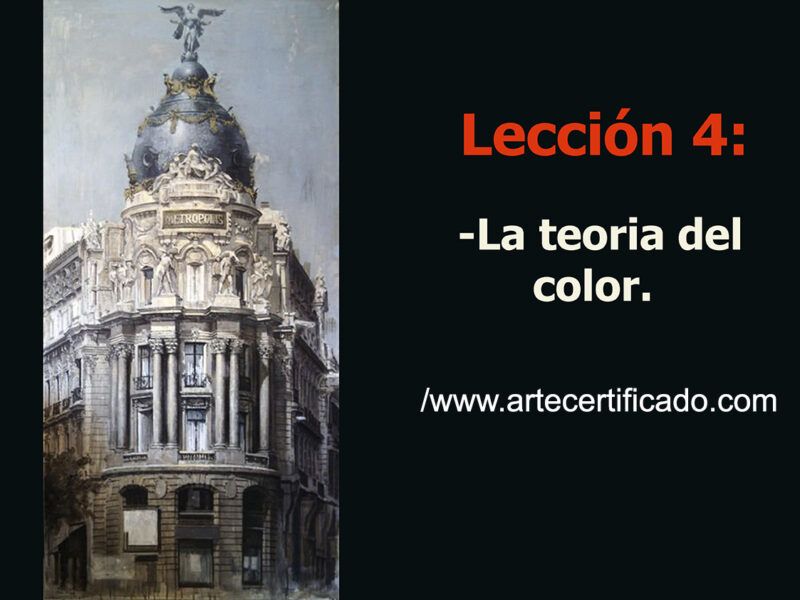
Lesson 4 — Colour Theory
Understand temperature, value and saturation to control light. Harmonies (complementary/analogous) and contrast to add strength and depth.
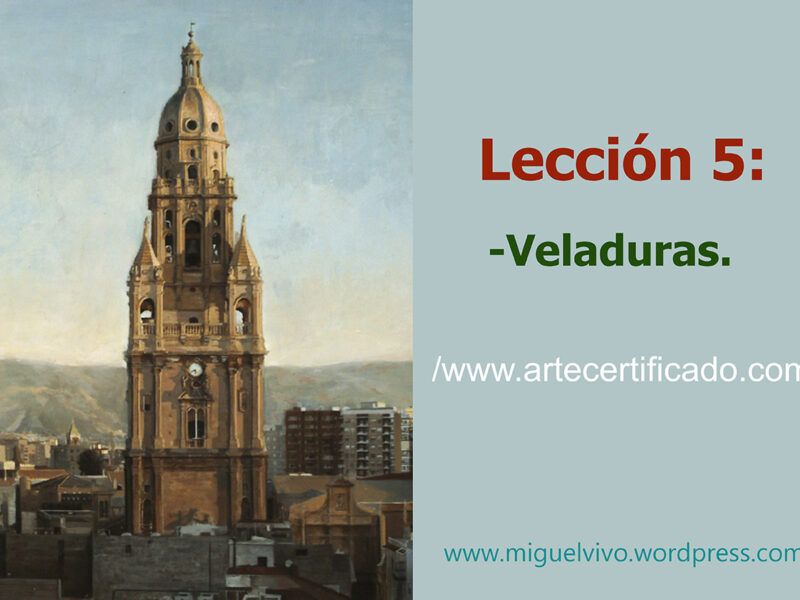
Lesson 5 — Glazing
What glazing is and how to apply it correctly. Control of transparency, layers and timing to enrich colour, depth and light without muddying the paint.
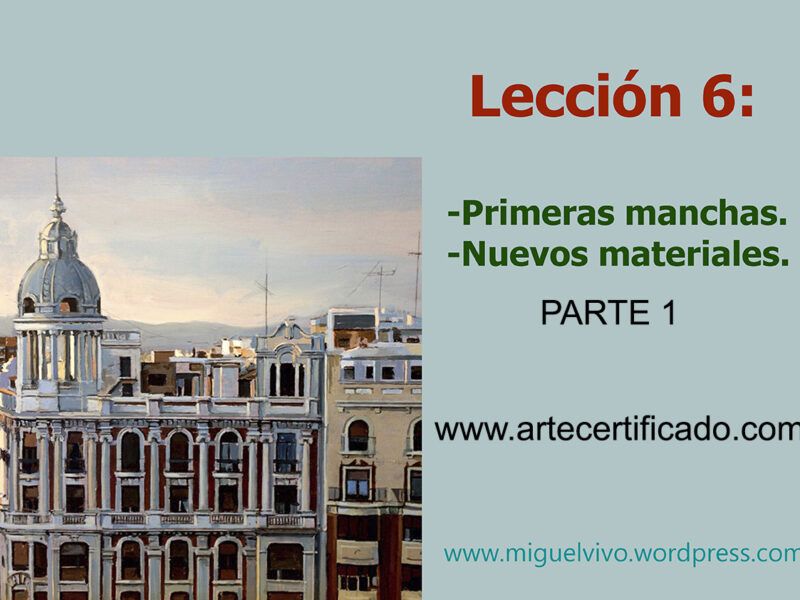
Lesson 6 (Part 1) — Initial blocking-in and new materials
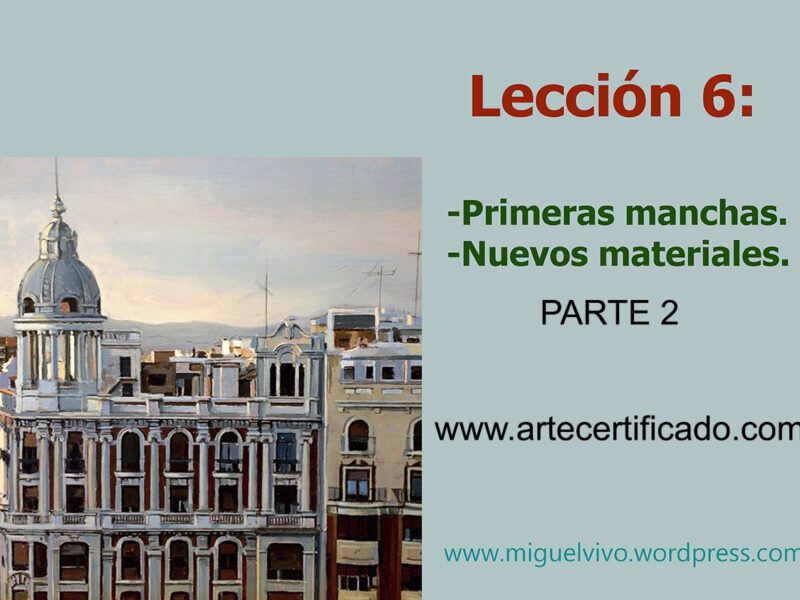
Initial paint blocks to establish values and atmosphere. New materials.
Lesson 6 (Part 2)
Continuation of the initial stage: first paint blocks with greater intent, adjustments to values and temperature, and how to choose materials without “muddying” the base.
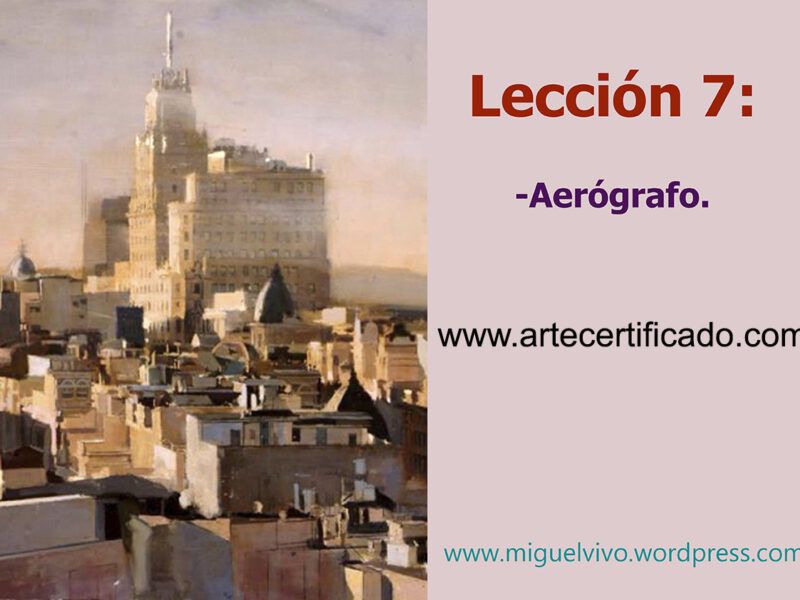
Lesson 7
Basic airbrush setup (pressure, dilution and nozzles) and practical application for gradients, atmosphere and fine glazes without “building up” the paint.
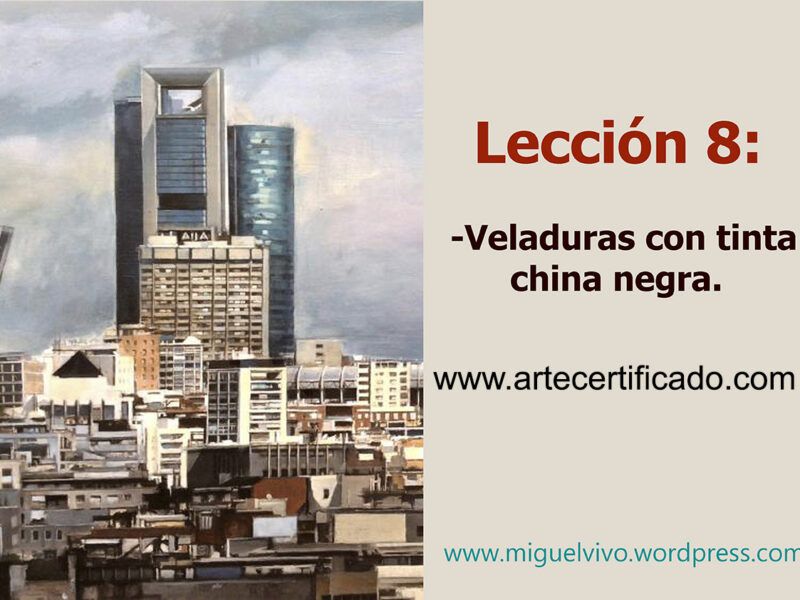
Lesson 8
How to use black Chinese ink in fine glazes to adjust values, depth and atmosphere. Dilutions, transparency control and common mistakes (stains, unwanted sheen and hard edges).
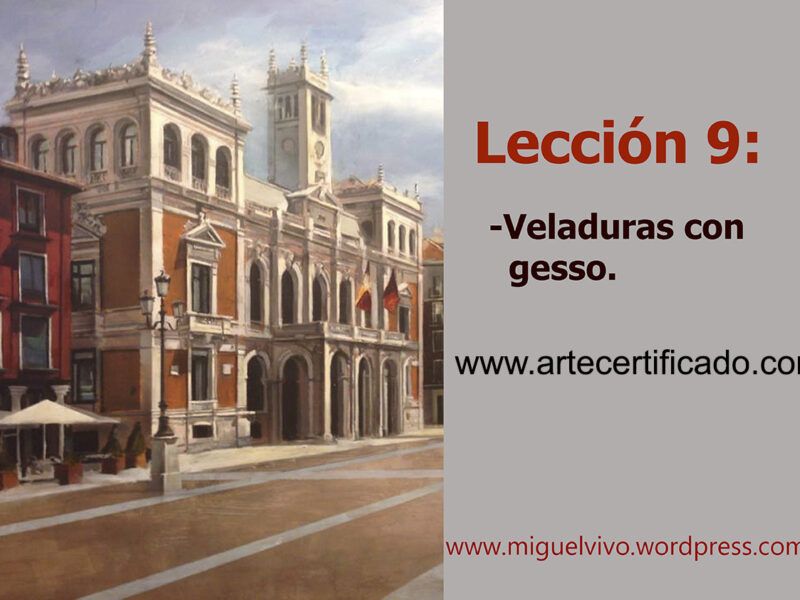
Lesson 9
How to use diluted gesso in glazes to lighten areas, unify planes and create atmosphere. Water ratio, thin layers, edge control and common mistakes (chalkiness, lifting and stains).
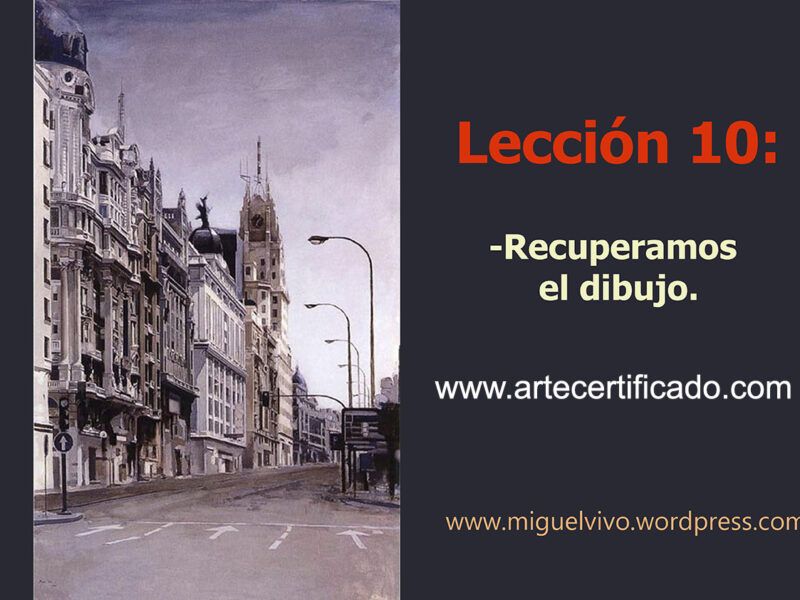
Lesson 10
After the first layers of paint, we re-establish the drawing to correct proportions and reinforce the structure.
How to redraw lines without muddying the colour and maintain overall coherence.
Lesson 11
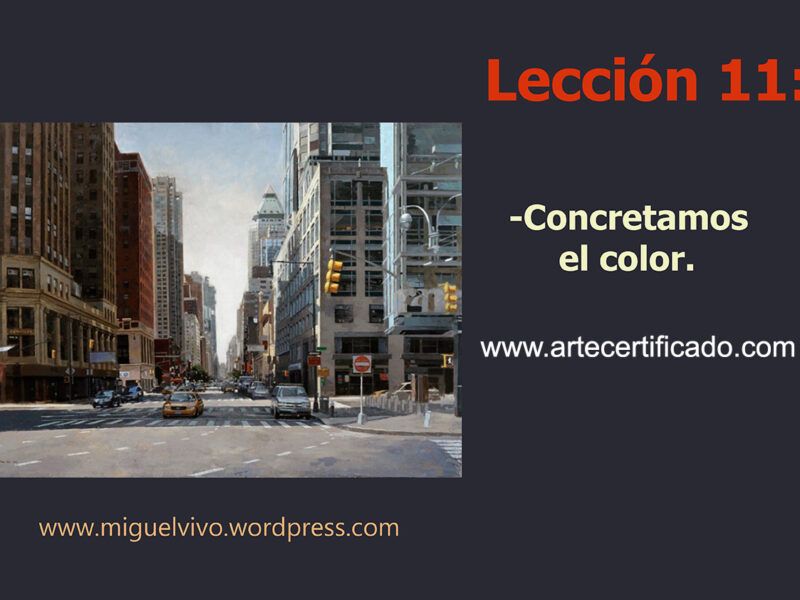
We define the final palette and refine colour relationships between highlights, shadows and mid-tones.
Adjustment of temperature, saturation and contrast to achieve unity without “muddying” the atmosphere.
Lesson 12
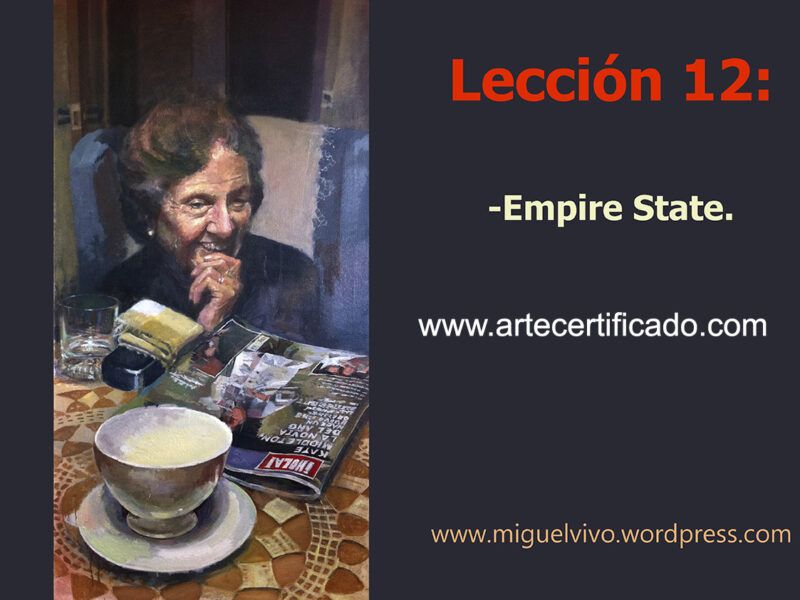
We re-establish the drawing of the Empire State, defining structure, planes and proportions.
Orderly construction of the vertical rows of windows and the break in the plane.
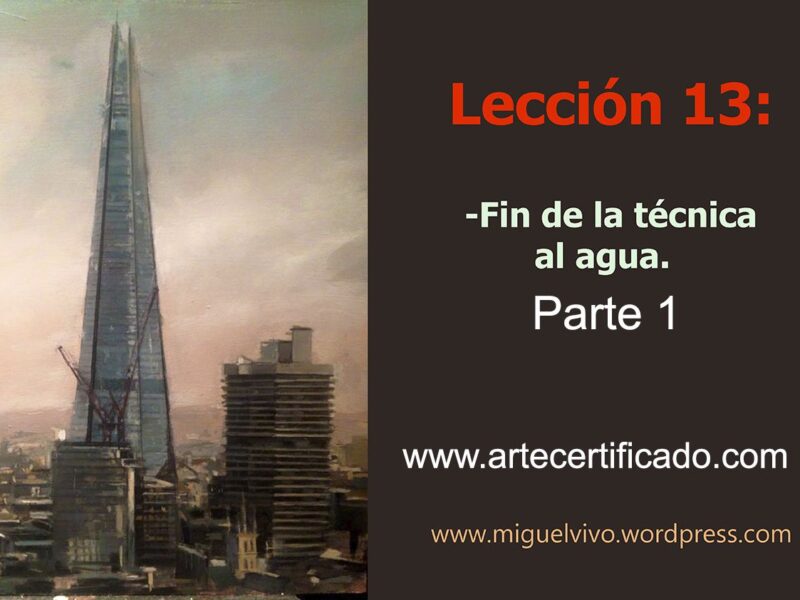
Lesson 13. Part 1
Control of values, transparency and overall visual clarity.
The painting is left ready to move on to mixed media without setbacks.
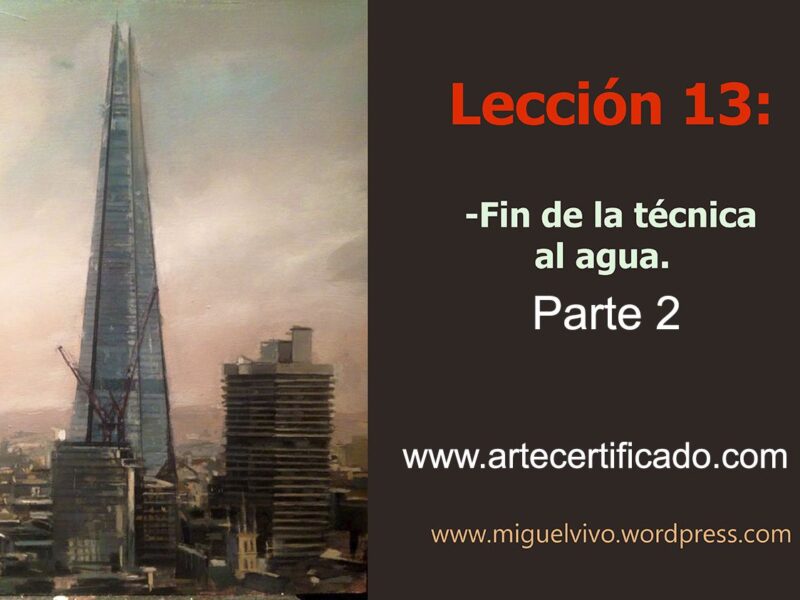
Lesson 13. Part 2
Final consolidation of lights and shadows using the water-based technique.
Correction of overall readings without adding material.
The painting is left ready to move into mixed media.
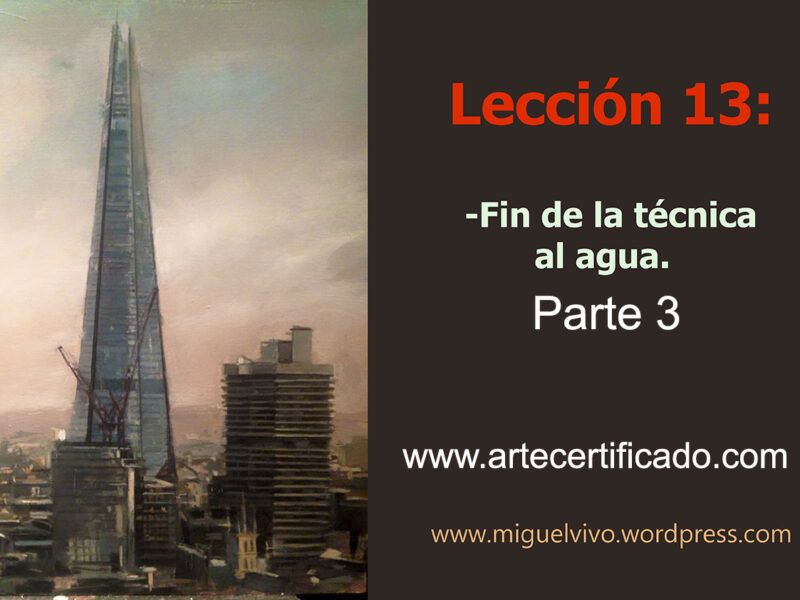
Lesson 13. Part 3
Final refinement of values and tonal relationships.
Correction of atmosphere and depth without losing freshness.
Clear preparation for the complete closure of the water-based technique.
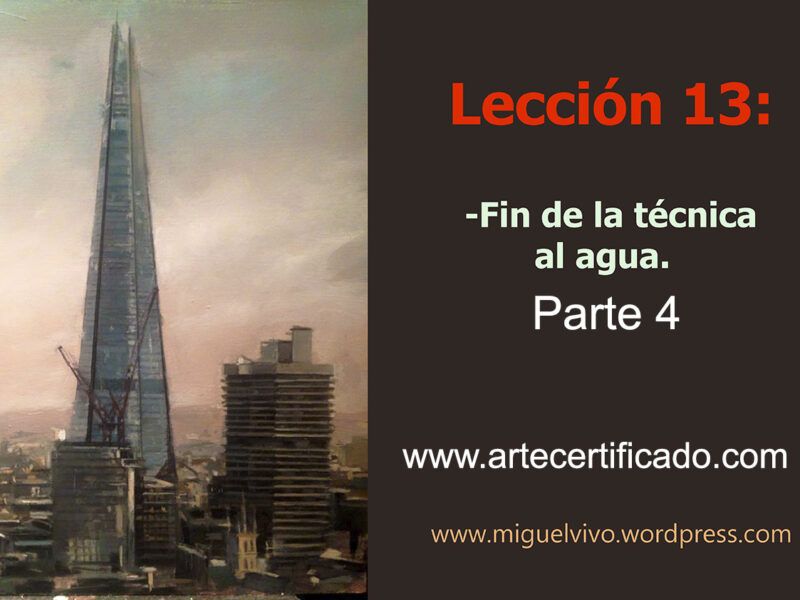
Lesson 13. Part 4
Consolidation of the overall structure of the painting.
Reinforcement of planes, contrasts and long-distance readability.
Final adjustments before definitively closing the water-based technique.
Lesson 13. Part 5
Final and irreversible closure of the water-based technique.
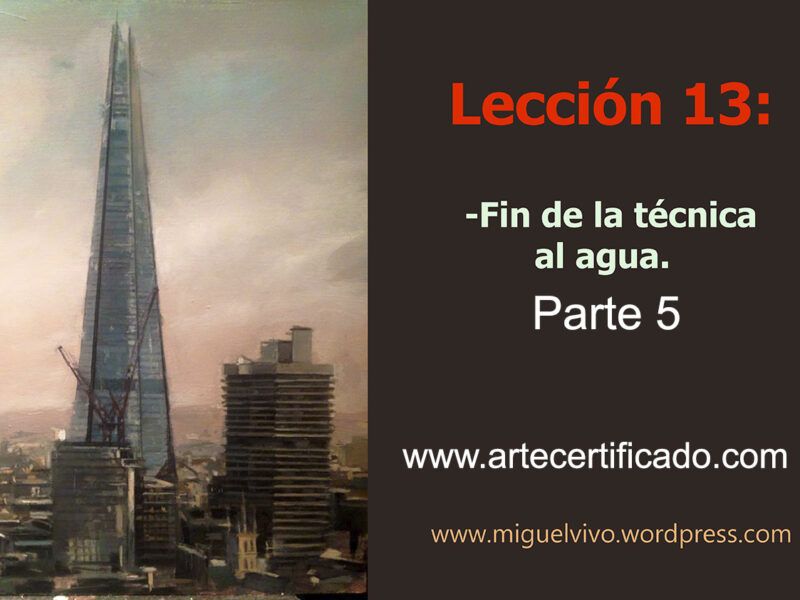
Values, planes and overall readability are consolidated.
From this point onwards, the work moves into a new technical phase.
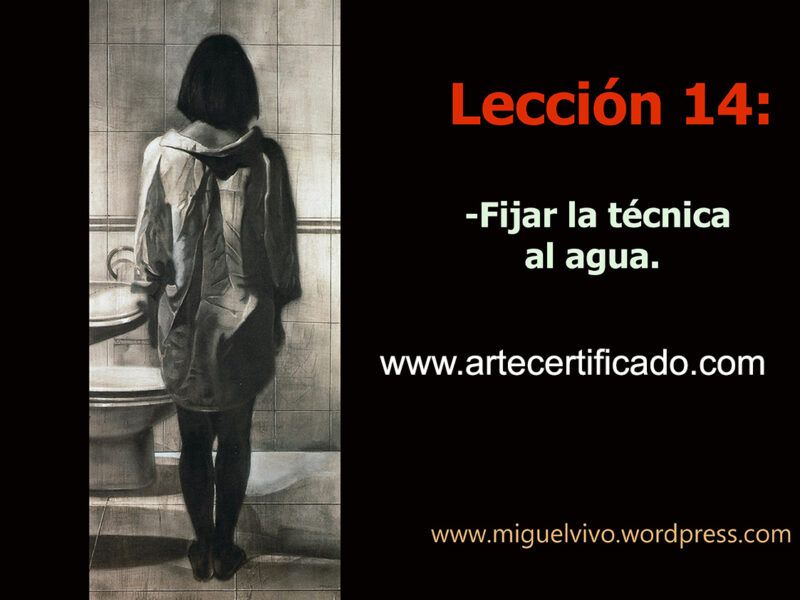
Lesson 14
Method for permanently fixing the water-based technique.
The drawing, values and achieved atmosphere are secured.
An essential step before continuing with new techniques.
Lesson 15
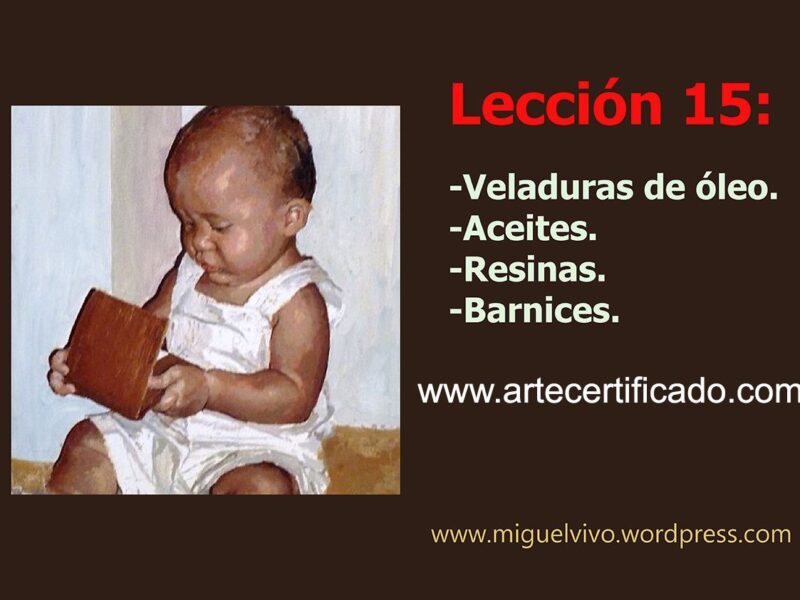
Introduction to oil glazing over a fully fixed technique.
Use of oils and resins to enrich colour and depth.
Basic criteria for varnishing without damaging the work.
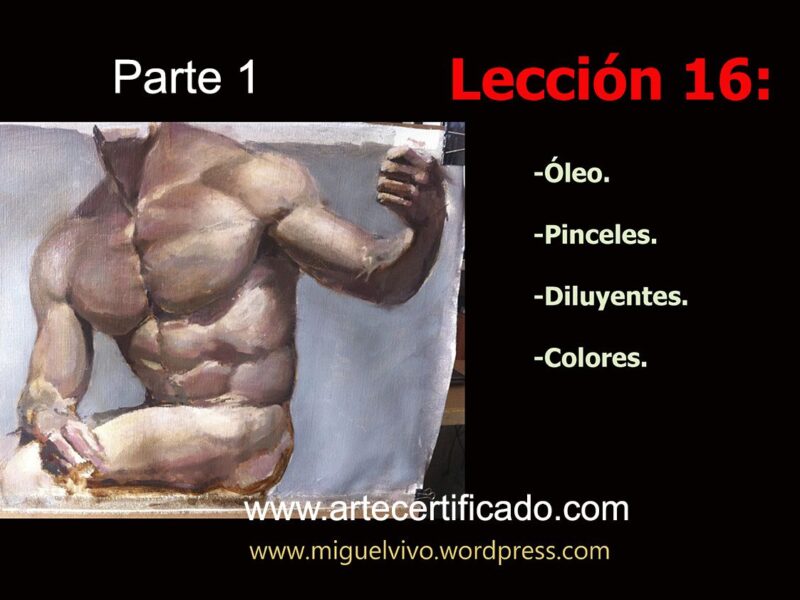
Lesson 16 · Part 1
We begin direct work with oil paint on an already established base.
We analyse brush types, their real function, and how they affect the brushstroke.
Correct use of solvents, paint loading, and sound judgement in colour selection.
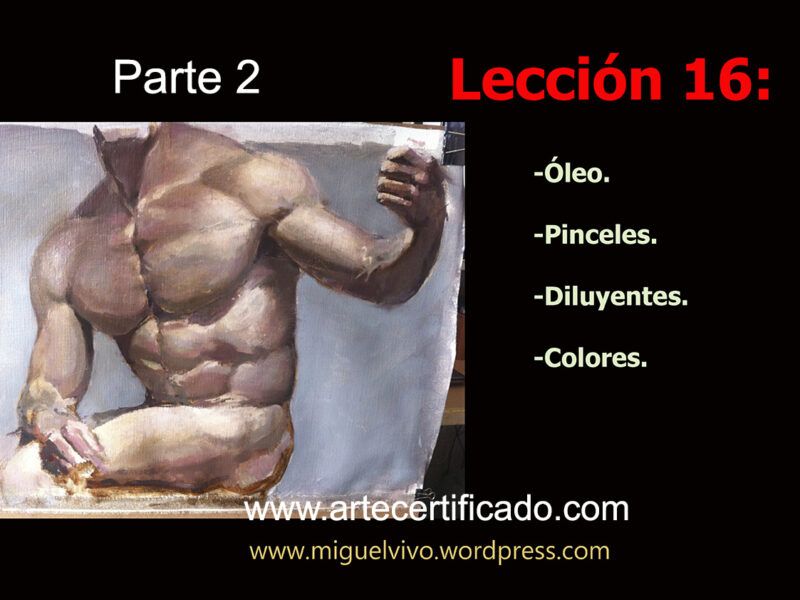
Lesson 16 · Part 2
We fully enter the application of oil paint.
We treat the brushstroke as a constructive element, not a decorative one.
Mass, stroke direction and the relationship between planes are defined, avoiding premature detail.
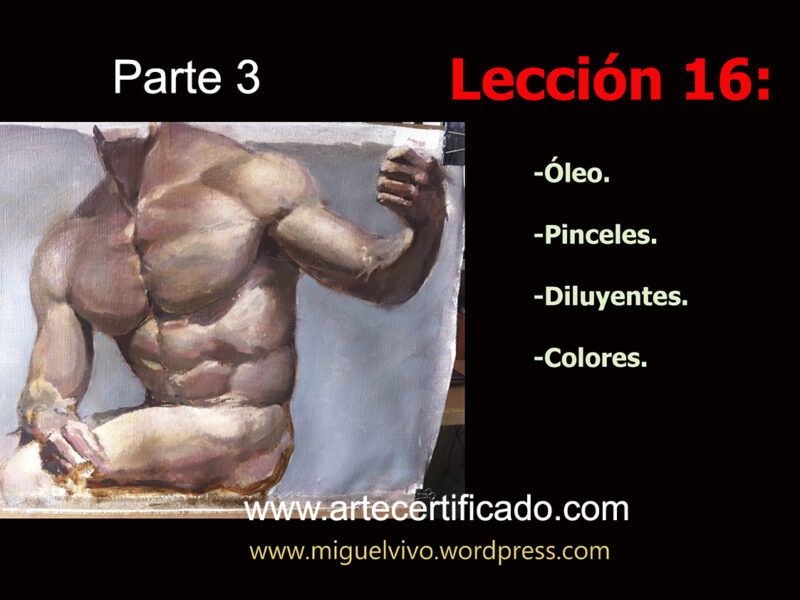
Lesson 16 · Part 3
In this part, final decisions are made.
Proportions are adjusted, form is clarified, and the main planes are reinforced without overloading the painting.
Here, nothing is “improved”: decisions are made.
Every brushstroke counts and removes what is unnecessary.
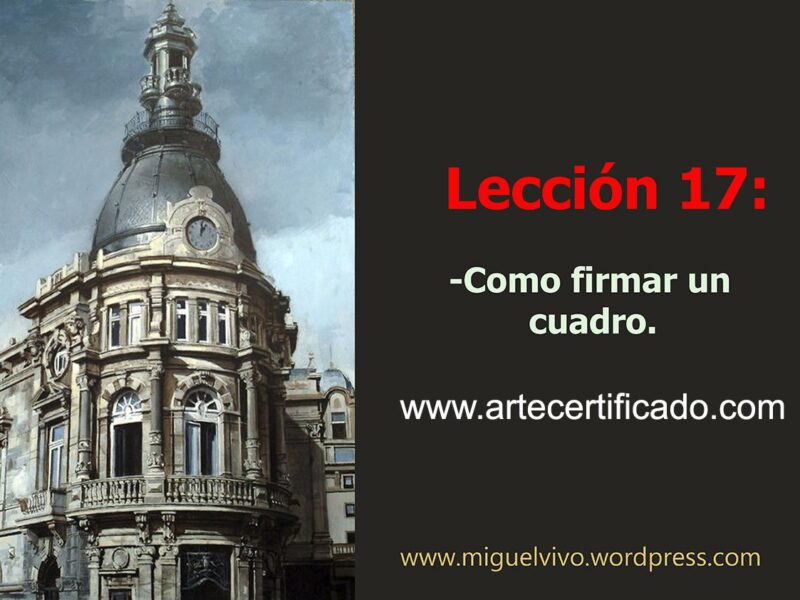
Lesson 17
In this lesson, I explain when, how and where to sign a painting.
A signature is not an ornament: it is a technical and professional decision. We examine the relationship between the signature and the composition, the appropriate size, the correct colour, and the most common mistakes that ruin an otherwise well-resolved work.
Lesson 18
In this final lesson, we look at the finished painting, fully resolved and closed.
I analyse the work as a whole: values, atmosphere, colour, structure and overall coherence.
Nothing more is added. We simply assess whether the painting works as a unified whole.
When there is nothing left to correct without damaging it, the painting is finished.
This is where the course ends.
The goal was not to copy an image, but to understand a complete process, from beginning to end.